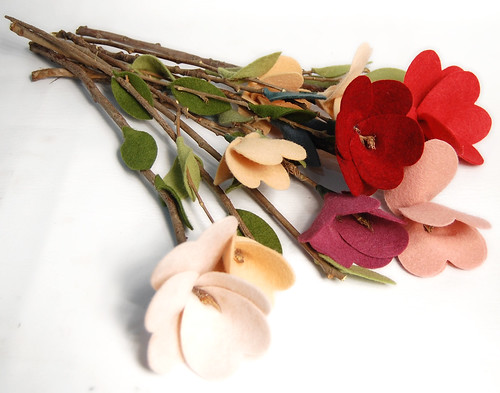
When I was graciously asked to contribute a Valentine's Day themed tutorial to The Crafts Dept. I wanted to design something other than my usual hair accessories. Fancy Felt hearts were at the top of my supply list, but I wasn't sure how to incorporate them. Here's how I came up with the design for the project:
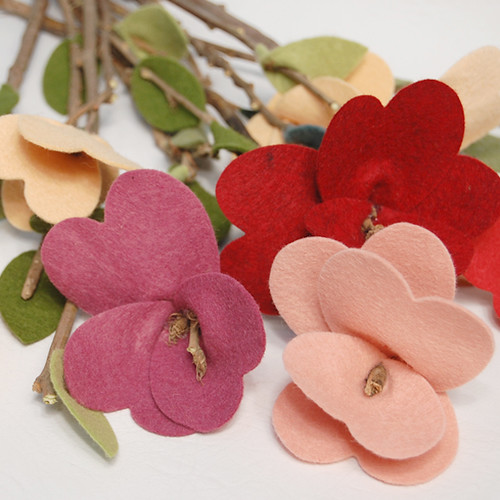
I draw inspiration for new designs in nature, so I spend a lot of time at my local park, just steps from my studio. Since it's wintertime here, there's not much in bloom, but there is an abundance of branches. With Valentine's Day quickly approaching, I thought it would be lovely to create flowers with those forgotten twigs. I designed Forever Fleurs from hearts & leaves cut out of Fancy Felt, one of my favorite things to work with. The combined textures of wool & wood are so life-like, they are the perfect alternative to freshly cut flowers. This simple no-sew project is an elegant design that's easy on your budget & a joy to create.
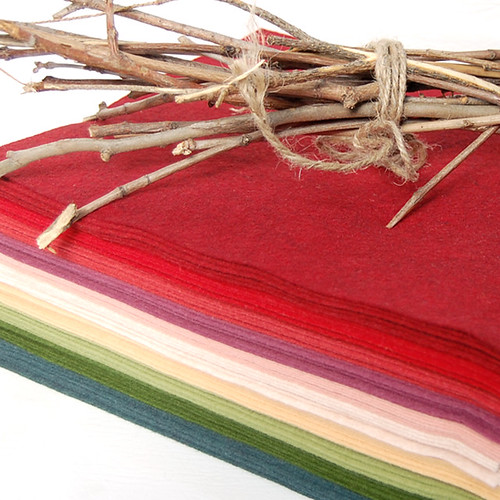
SUPPLY LIST
• Fancy Felt (10, 9 x 12 inch pieces)
• Scissors
• Found twigs & branches
• Tracing pen
• Hot glue gun & glue sticks
• Template - Print it for free here!
• Floral tape (optional)
Now you're ready to make some Forever Fleurs. Let's get started, shall we?
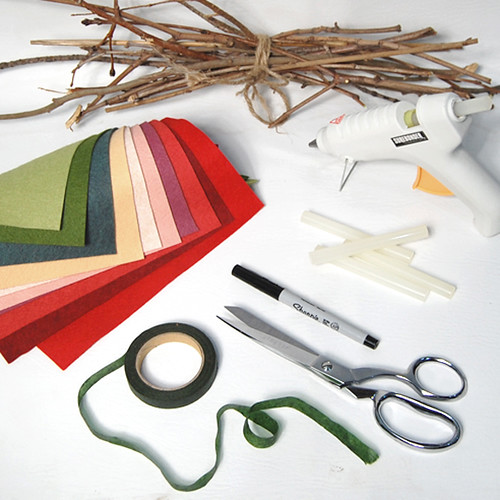
Step 1
Gather supplies & plug in your glue gun.
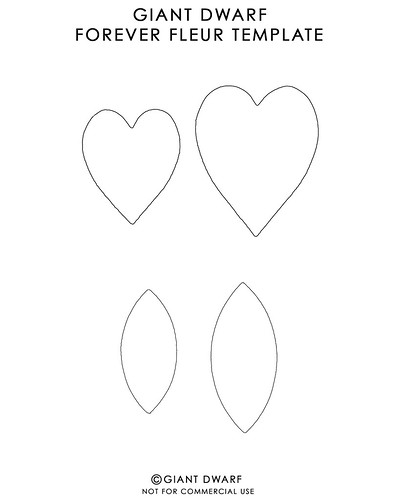

Step 2
Print the template & cut out the shapes. Trace hearts & leaves onto different colors of Fancy Felt, then cut out the fabric pieces. I recommend 3-4 hearts & 1-2 leaves to make each flower, but don't be shy to use more to create fuller stems.

Step 3
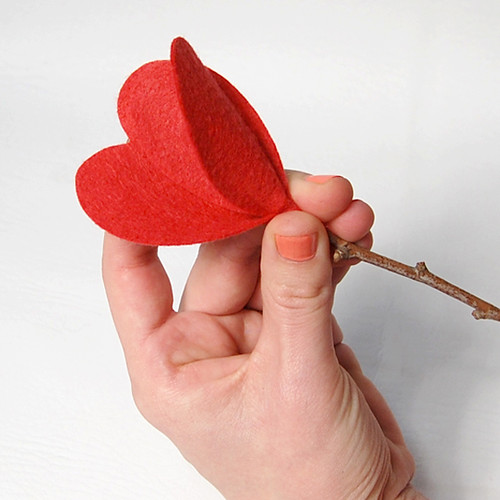
To make the flowers, place a small dot of hot glue at the bottom of a heart, then pinch it to the top of the twig. Be careful not to get any hot glue on your fingers!
Step 4
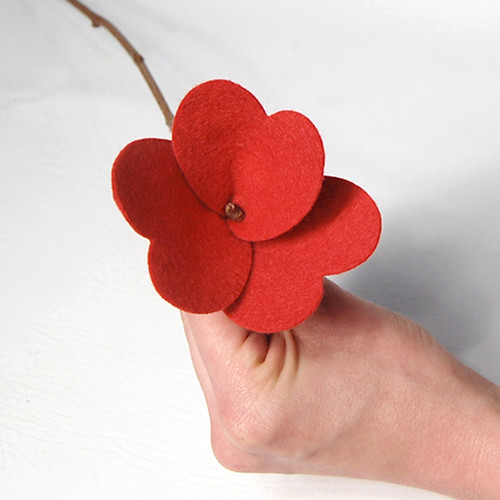
Repeat Step 3, turning the twig slightly when gluing each petal until the flower has been formed.
Step 5
Fold the petals back to make your blossom bloom.
Step 6
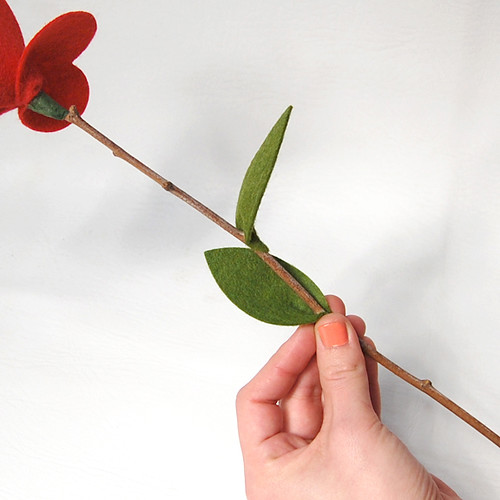
Using the same process as in Step 3, add leaves to create greenery. If you'd like a few pieces of filler, use leaves instead of hearts.
Step 7
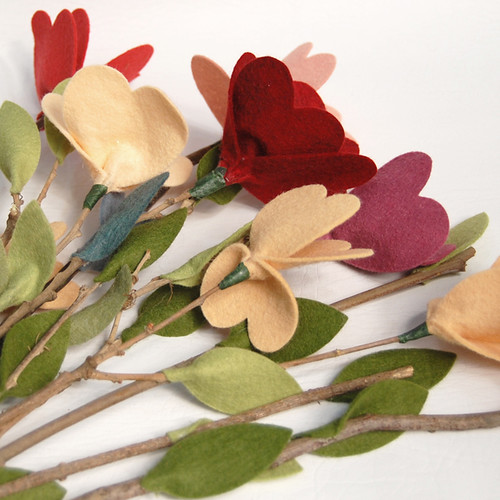
For a clean finish, on your freshly picked posy, secure the base of the flower with floral tape.
Step 8
Now that you've planted your first seed, continue to grow your garden until your heart's content.

Step 9
Give a single stem to your sweetheart or an entire bouquet to someone you admire this Valentine's Day.
I hope you've enjoyed the tutorial! Huge hugs to the Giant Dwarf gals, Alex & Sharon, as well as Laura Kaesshaefer from The Crafts Dept. for the opportunity. It was one of the best experiences of my career as an artist!
xo,
Sue


4 comments:
Great tutorial, Sue! I love everything you make, and this is a great decor idea for Valentine's!
Hi Sue,
I posted your tutorial on Craft Gossip Felting and I love these charming flowers. Please stop by and leave a comment:
http://felting.craftgossip.com/2012/05/16/felt-forever-fleurs-tutorial/
Linda Lanese
Felting Editor
These are unbelievably adorable! I'm linking to them on Facebook. Thanks for an awesome tutorial :)
I'm showing this to my daughter - it's exactly the kind of craft she loves to do! Thanks (following you over from Wee Folk Art)
Post a Comment